Overview
Detailed walkthrough of the RudderStack dashboard.
Once you sign up for RudderStack Cloud, you are presented with a dashboard that lets you set up and manage all your event data sources, destinations, and connections through an easy-to-use UI.
This guide walks you through all the dashboard options to get started with RudderStack Cloud in no time.
Get Started
This option helps you easily get started with RudderStack. You can set up a source and connect it to your cloud destinations or data warehouses via this page, as shown:

Directory
Directory acts as a catalogue for all the sources (Cloud Apps, Cloud Extract and Reverse ETL) and destinations (Warehouse and Streaming destinations) supported by RudderStack.
Connections
This option lets you set up your data pipelines by connecting different sources and destinations across your entire customer data stack.
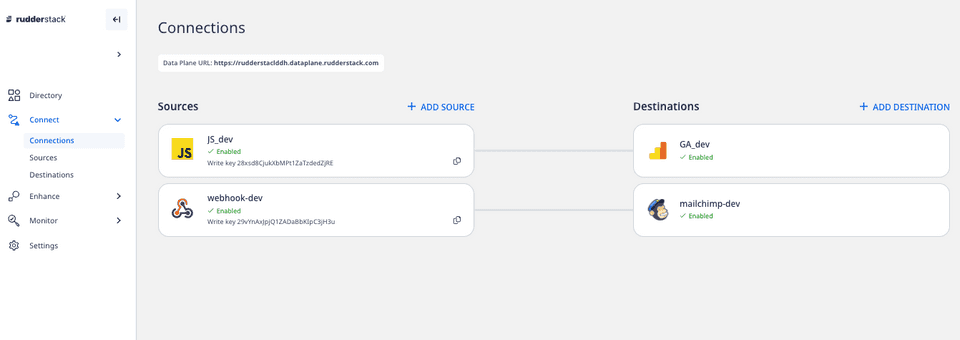
Data plane URL
For routing and processing the events to the RudderStack backend, a data plane URL is required.
Here's how to get the Data Plane URL:
If you're using RudderStack Cloud Free, the data plane URL is provided in the dashboard itself.

If you're using RudderStack Pro or Enterprise, contact us for the data plane URL with the email ID you used to sign up for RudderStack.
If you're using RudderStack Open Source, you are required to set up your own data plane in your preferred environment.
http:localhost:8080 where 8080 is typically the port where your RudderStack data plane is hosted.Sources
This option lists all the configured sources in your workspace. You can add a new source by clicking on the New Source button, as shown:

Destinations
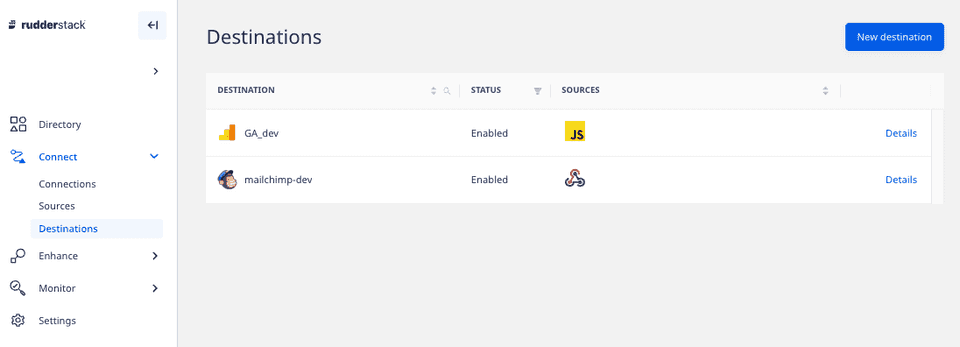
This option lists all the configured destinations where you can send your event data. You can add a new destination by clicking on the New Destination button, as shown:
Syncs
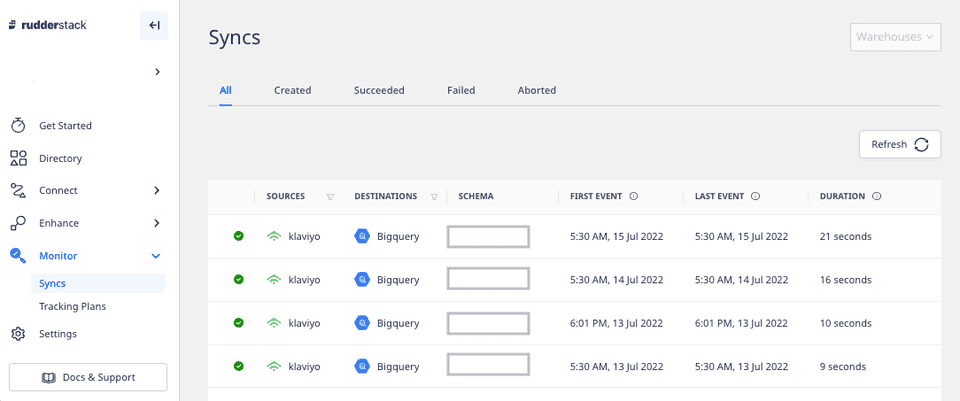
This option provides detailed metrics on the events synced to the warehouse destinations. You can also filter the event data based on a specific source or destination by using the filter option in the header or sync the data manually by using the Sync Now button.
Models
This feature lets you define custom SQL queries which can be executed on your warehouse. You can then use RudderStack to send the resulting data to specific destinations.
Transformations
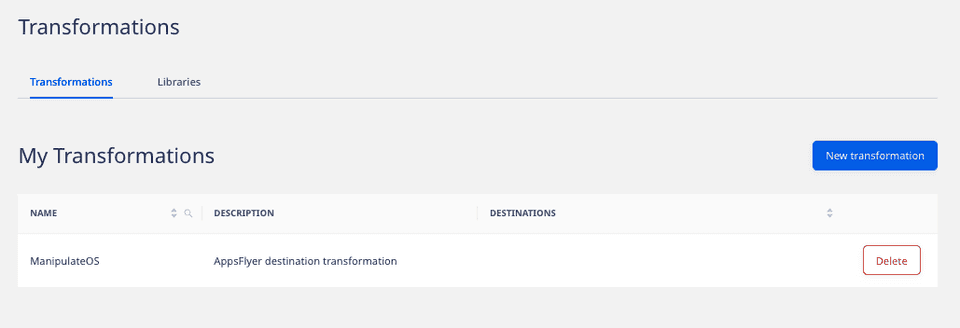
With this option, you can write your own JavaScript functions to transform your events. You can also create your own Libraries to reuse a transformation's code for other transformations.
Audit Logs
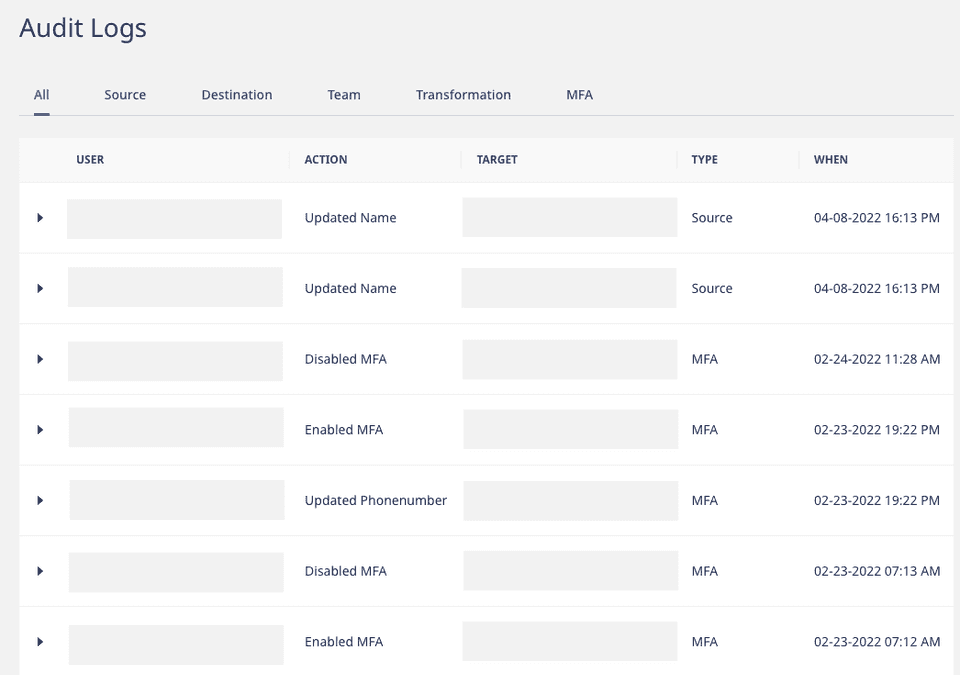
Audit logs can be used to track the user activities within your RudderStack workspace.
Tracking Plans
RudderStack's Tracking Plans feature lets you you proactively monitor and act on non-compliant event data coming into your RudderStack sources based on the predefined plans. It ensures data quality by validating the live events delivered to RudderStack against the expected events.
Settings
This option lets you manage the settings and various details related to your RudderStack account.
Account
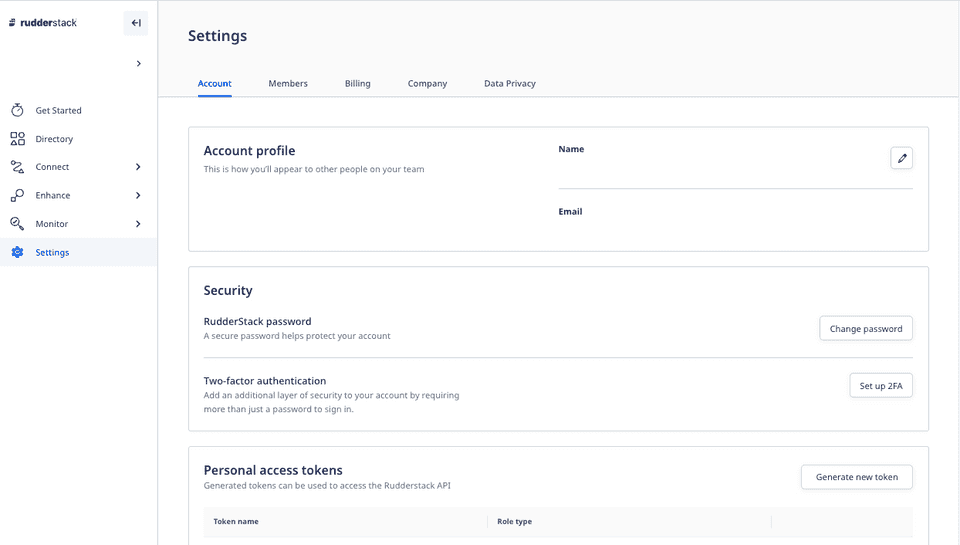
It displays the general account settings like name, email, and password. You can change your account name and password, set up and enforce two-factor authentication.
You can also generate a Personal Access Token required to use the RudderStack APIs.
Members
This option displays all your teammates with their access permissions in the current RudderStack workspace. You can also invite new teammates by using the Invite Teammate button.
Billing
It displays the billing information of your RudderStack account. You can change the existing plan or contact sales to get more information.
Company
This tab lets you change your workspace name and company name. You can also find your workspace token here.
Workspace Token
The workspace token is a unique identifier associated with your current RudderStack workspace.
To get your workspace token, go to Settings > Company, as shown:
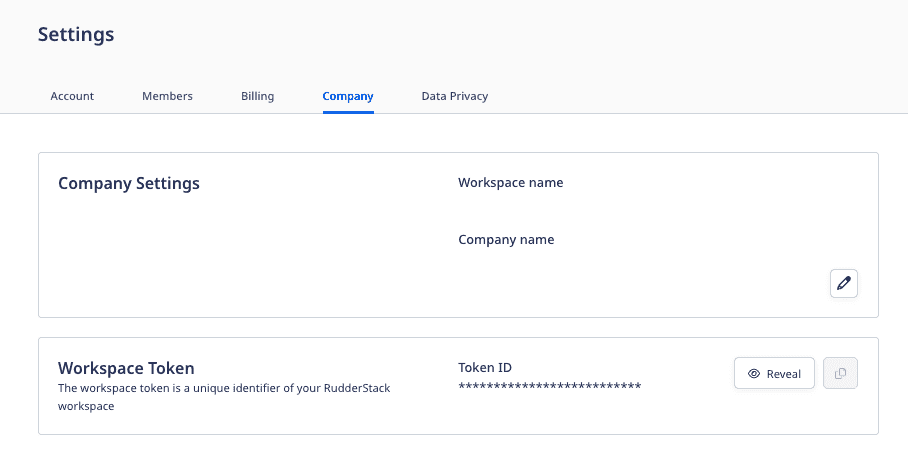
To view the workspace token, click on Reveal Token and enter the password associated with your RudderStack account.
Data privacy
In this tab, you can control who can view the PII(Personally Identifiable Information) by limiting access to the raw event data.
Contact us
For more information on the topics covered on this page, email us or start a conversation in our Slack community.