Hotjar
Step-by-step guide on sending your event data from RudderStack to Hotjar.
Hotjar is a popular behavior analytics platform, suitable for marketing teams and product managers to better understand and improve their product. It allows them to understand the behavior of their website's visitors through heat maps, surveys, and conversion funnels.
RudderStack helps you integrate your website with Hotjar to auto-track your user data.
Getting started
Before configuring Hotjar as a destination in RudderStack, make sure that the source platform supports sending events to Hotjar by referring to the following table:
| Connection Mode | Web | Mobile | Server |
|---|---|---|---|
| Device mode | Supported | - | - |
| Cloud mode | - | - | - |
Once you have confirmed that Hotjar supports the source, perform the steps below:
- From your RudderStack dashboard, add the source. Then, select Hotjar from the list of destinations.
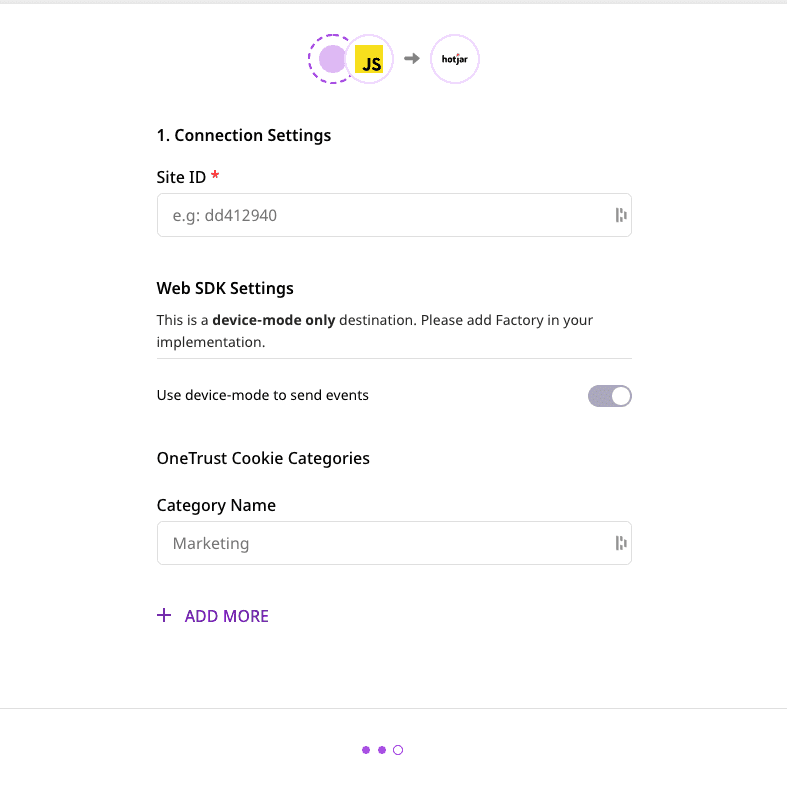
- Assign a name to your destination and click on Next. You should see the following screen:

Connection settings
To successfully configure Hotjar as a destination in RudderStack, enter the following connection settings:
- Site ID: Enter your Hotjar site ID. You can get your site ID by logging into your Hotjar account and navigating to Settings > Sites & Organizations.
Finally, click on Next to complete the configuration. Hotjar will now be added and enabled as a destination in RudderStack.
Track
The track call leverages Hotjar's Events API to track specific user actions.
A sample track call is as shown below:
rudderanalytics.track("custom_event");Identify
The identify call lets you pass your user data to Hotjar, sending them as User Attributes.
Before you start making identify calls, make sure that User Attributes are enabled in your Hotjar dashboard for each site. Refer to this Hotjar support page for more information on enabling and disabling User Attributes.
A sample identify call is shown below:
rudderanalytics.identify("userId", { total_spend: 500});Contact us
For more information on the topics covered on this page, email us or start a conversation in our Slack community.