Importing Data using Models
Detailed technical description on importing data using RudderStack’s Models feature.
RudderStack's Models feature lets you define and run custom SQL queries on your warehouse data and send the results to your specified destinations.
You can create a model in the RudderStack dashboard and use it while connecting a Reverse ETL source to a destination. For detailed steps on how to create a model, refer to the Models guide.
The settings to import and sync data from your model are listed below:
- Select the required model from the dropdown list.
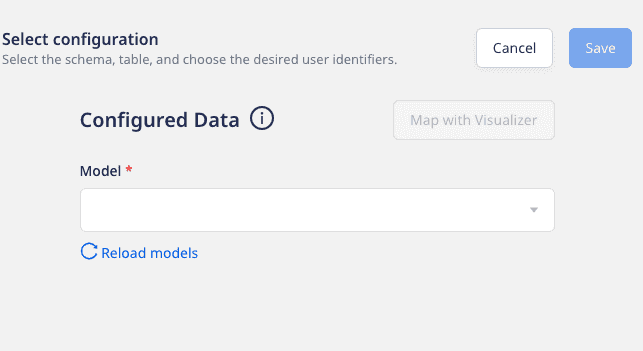
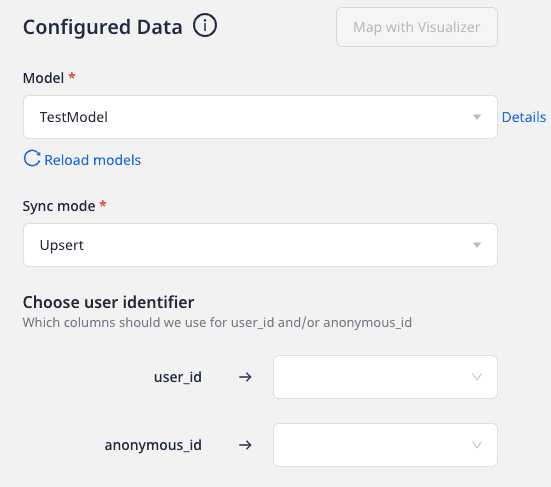
- Select the Sync mode that RudderStack will use to sync your data.
RudderStack supports two modes for syncing your data - Upsert and Mirror. For more information on these modes, refer to the Sync Modes guide.
- Select least one user identifier (user_id/anonymous_id) from the dropdown list.
You can also preview the data snippet which RudderStack will send to the destination. All the resulting columns from running the model's query are selected by default. However, you can choose to retain specific columns by searching and selecting them. You can then preview the resulting JSON on the right, as shown:
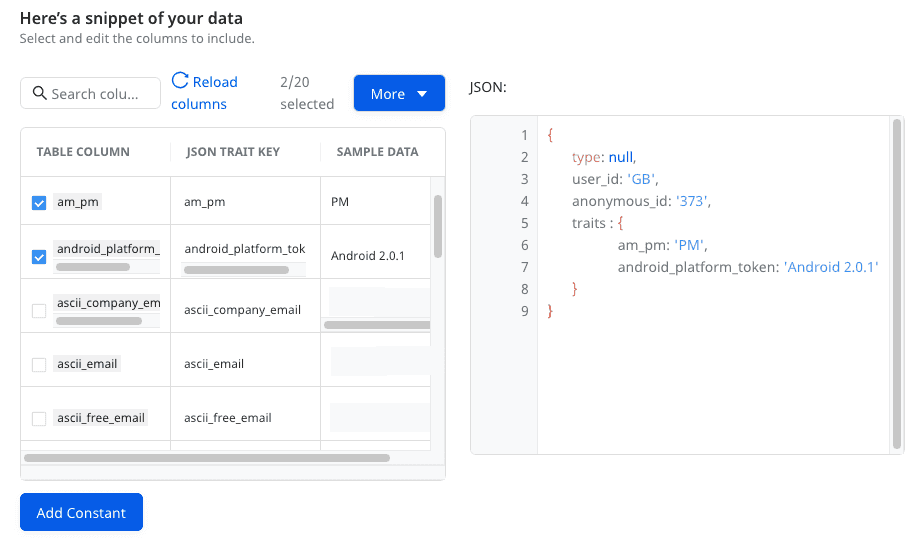
user_id and anonymous_id from the columns selected in the Choose user identifier section. Moreover, the traits are used from the columns selected in the Column section.Add Constant
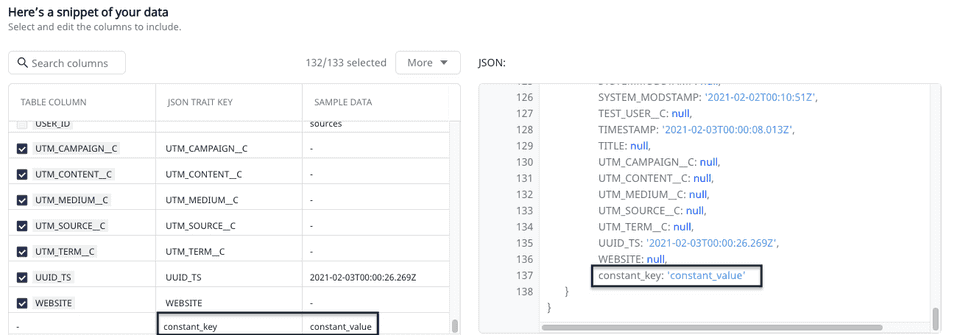
You can also use the Add Constant option to add a constant key-value pair which is always sent in the JSON payload, as shown:
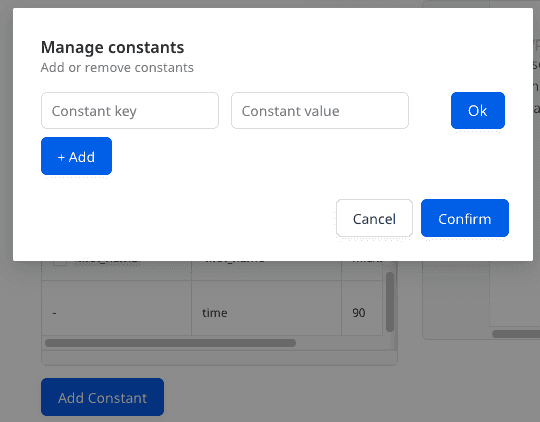
The new constant will appear in the table and also in the JSON preview inside the traits, as shown:
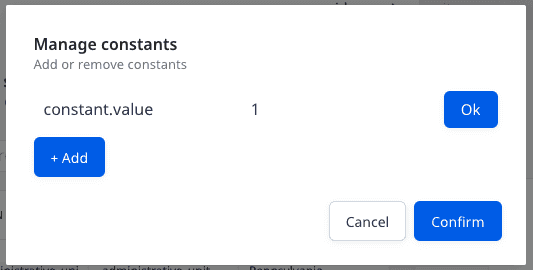
You can also use the dot notation to define a constant, as shown:
Once you have finalized the configuration, click on Save.
Updating an existing configuration
You can update the selection of columns from which RudderStack sends data to the specified destinations by following these steps:
- Click on the source and select the Schema tab.
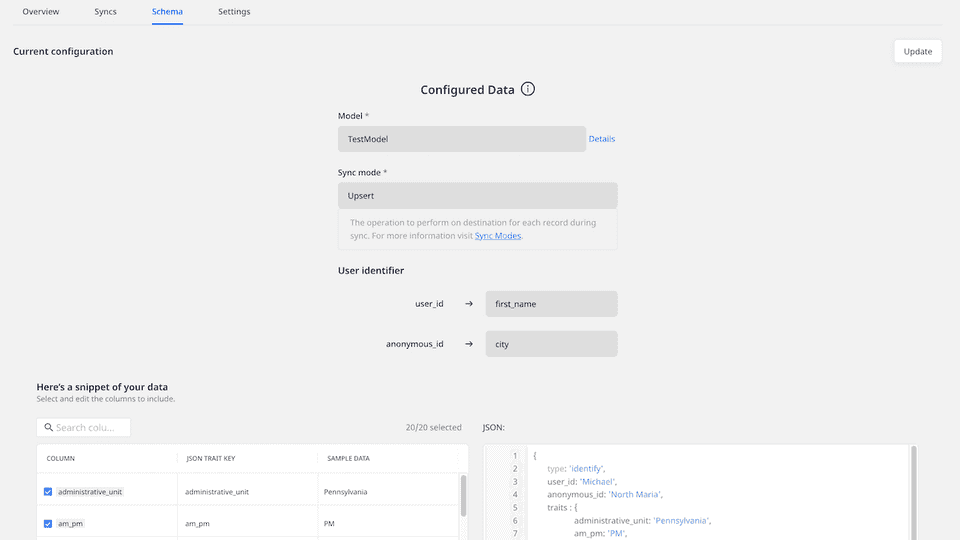
- Then, click on the Update button, as shown:
- Update your column selection.
When updating an existing configuration, you can only change the existing mappings. The Model, Sync mode, and the User identifier fields are not editable.
- Finally, click on the Save button.
After updating the configuration, the next sync will be a full sync.
Contact us
For more information on the topics covered on this page, email us or start a conversation in our Slack community.